
Most beginners who start swing trading believe success comes from finding the perfect entry signal. They study candlestick patterns, backtest strategies, and scan charts for hours — yet the majority still lose money. The uncomfortable truth is that entries are only a small part of the equation. What separates the traders who survive their first year from those who blow up their accounts is something far less exciting: swing trading risk management and position sizing.
Risk management is the framework that decides how much you can lose on any single trade, how you protect your capital during a losing streak, and how you keep one bad week from ending your trading career. Position sizing is its engine — the calculation that turns your risk limit into an exact number of shares. In this complete guide, you will learn the 1% rule, the position sizing formula with worked examples, volatility-adjusted sizing, stop-loss strategies, risk-reward ratios, and a complete checklist you can apply to every swing trade from today onward.
What Is Swing Trading? A Quick Refresher
Swing trading is a style of active trading that aims to capture medium-term price “swings” in stocks, ETFs, currencies, or other liquid markets. Unlike buy-and-hold investors who may own a stock for years, swing traders typically hold positions for a few days to a few weeks, exiting once the anticipated move has played out — or once the trade idea is proven wrong.
The swing trader’s toolkit is primarily technical analysis: trendlines, support and resistance levels, moving averages, momentum oscillators like the RSI, and candlestick price action. Many swing traders also weigh fundamental catalysts such as earnings reports or sector rotation, but the core idea is always the same — identify a developing price move early, ride it while it lasts, and get out before it reverses.
How Swing Trading Differs from Day Trading
Understanding the difference between swing trading and day trading matters because each style carries a different risk profile. Day traders open and close every position within a single trading session; they never hold overnight and therefore avoid gap risk entirely. Their challenge is intense intraday volatility, split-second decision-making, and high cumulative costs from frequent trades.
Swing traders face the opposite trade-off. They need far less screen time — usually one or two chart reviews per day — and they pay fewer commissions because they trade less often. But they accept overnight and weekend risk: an earnings surprise, a geopolitical event, or a macro data release can move a stock sharply while the market is closed. This makes swing trading risk management even more critical, since a single gap against your position can be larger than any intraday move.
- Holding period: Day trading is intraday only; swing trading holds positions for days to weeks.
- Screen time: Day traders watch the market for hours; swing traders typically review charts once or twice a day.
- Trade frequency: Dozens of trades per week versus a handful per month.
- Dominant risk: Day traders fight execution costs and fast decisions; swing traders manage overnight gaps and wider stops.
- Capital rules: US stock day traders face the $25,000 pattern-day-trader equity requirement; swing traders do not.
Where Swing Trade Setups Come From
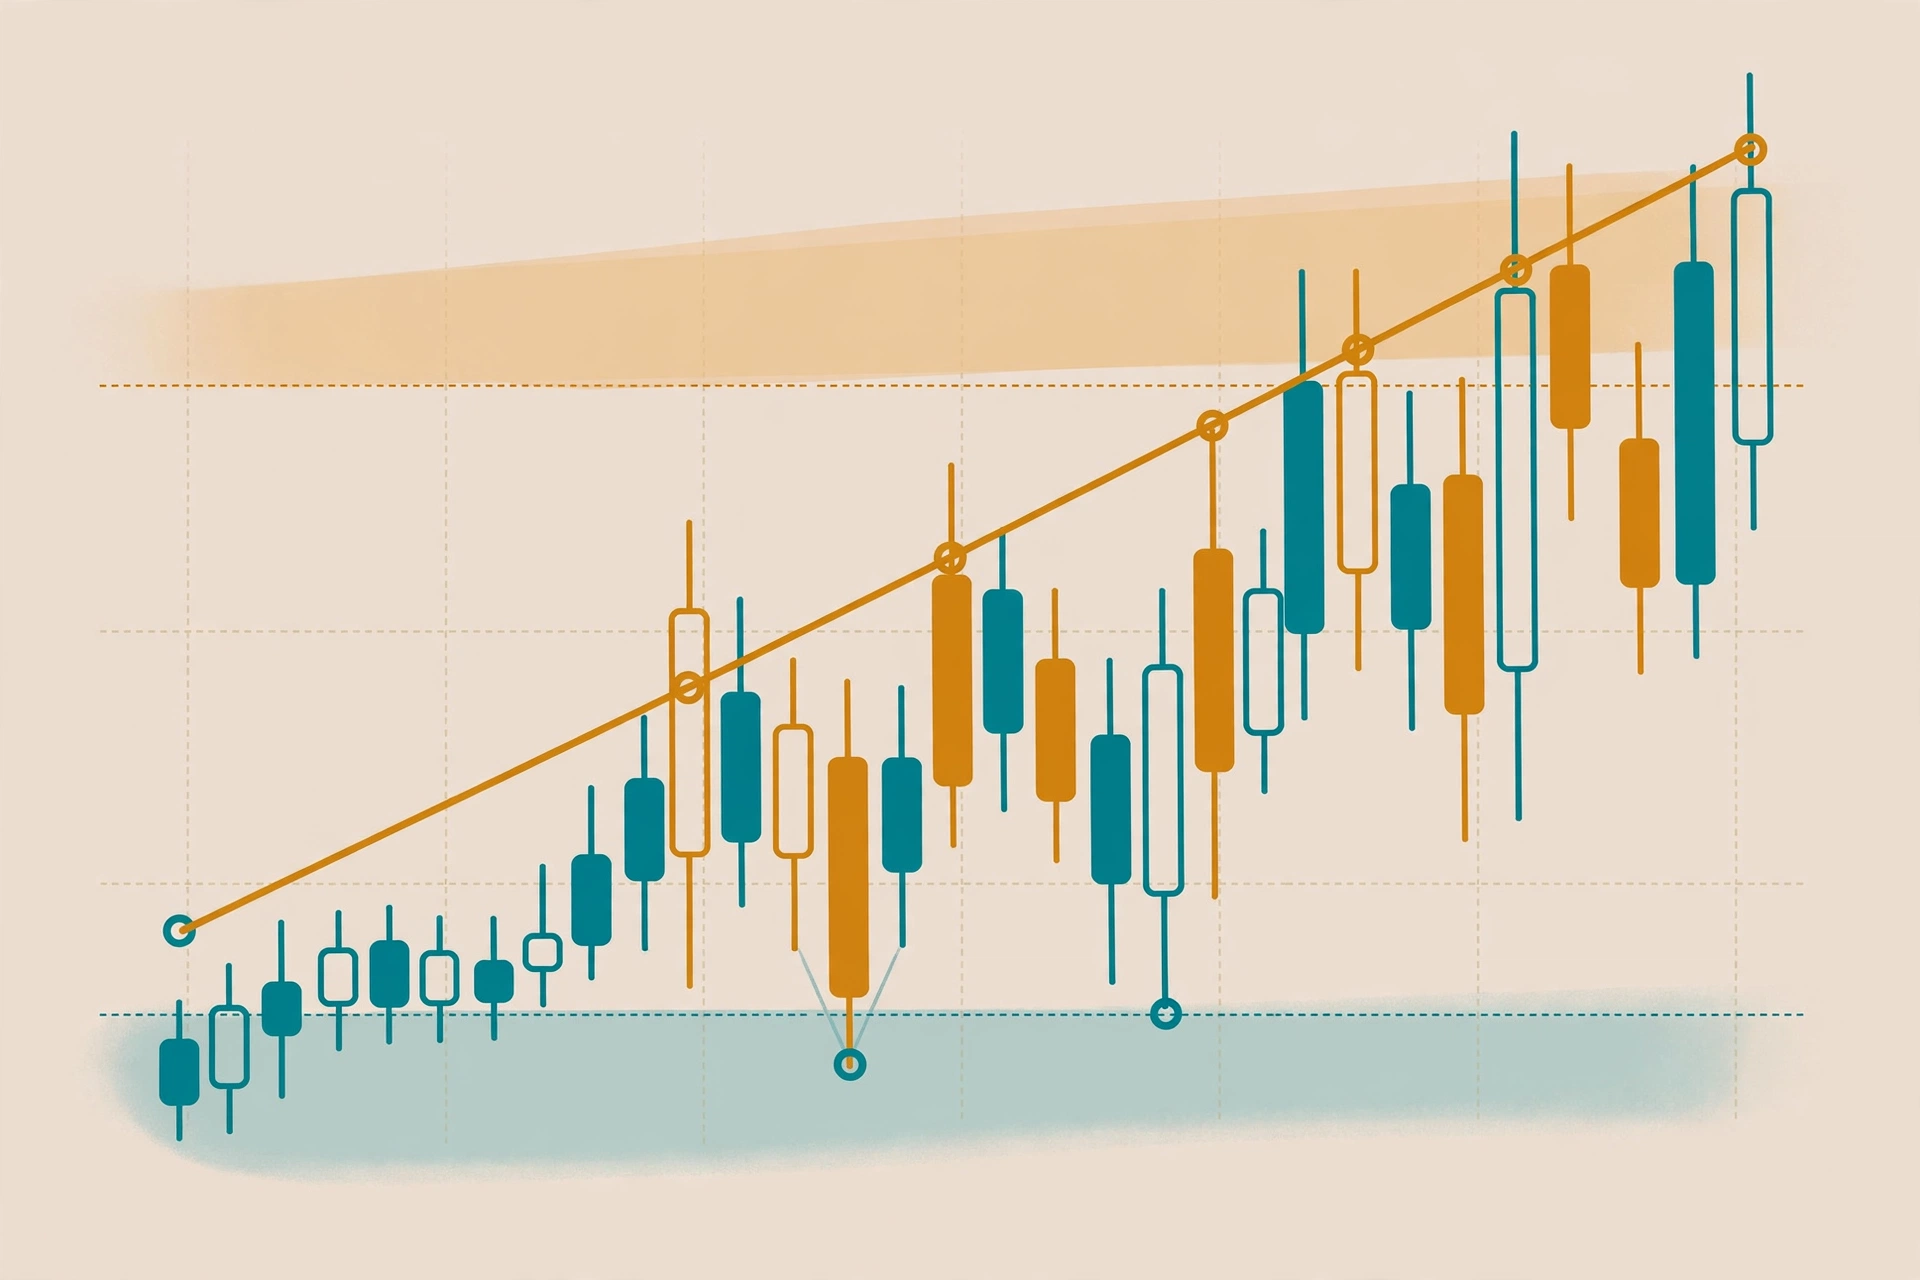
Swing setups form wherever price momentum and structure align. Common patterns include breakouts from consolidation ranges, pullbacks to a rising trendline or moving average, bounces off well-tested support, and continuation moves after a strong catalyst. Whatever the entry trigger, every professional swing trader pairs it with two questions before placing the order: “Where will I exit if I am wrong?” and “How much will I lose if the exit is triggered?” Answering those questions — and sizing the position accordingly — is what swing trading risk management and position sizing is all about.
Why Risk Management Determines Who Survives Swing Trading
Every trading strategy, no matter how well researched, goes through losing streaks. A strategy with a respectable 50% win rate will still encounter streaks of five, six, or even eight consecutive losses purely by chance. Risk management does not prevent those streaks — it makes them survivable.
Consider two traders, each starting with a $10,000 account and each taking the same series of trades. Trader A risks 10% of the account per trade; Trader B risks 1%. After six consecutive losses — a completely normal event — Trader A’s account has shrunk to roughly $5,300, and the emotional pressure is crushing. Trader B’s account sits at about $9,400, barely dented, and Trader B can keep trading the same strategy with a clear head. The entries were identical. The difference was entirely swing trading risk management and position sizing.
The Math of a Losing Streak
Losses grow asymmetrically. Lose 20% of your account and you need a 25% gain just to break even. Lose 50% and you need a 100% gain — a feat few traders ever achieve. This asymmetry is why professional traders treat capital preservation as the job itself, and profits as the by-product of staying in the game long enough for their edge to play out.
- A 10% loss requires an 11.1% gain to recover.
- A 25% loss requires a 33.3% gain to recover.
- A 50% loss requires a 100% gain to recover.
The conclusion is inescapable: keep individual losses small, and the mathematics of recovery stay on your side. That is the entire philosophical core of position sizing in swing trading.
The 1% Rule: The Foundation of Swing Trading Risk Management
The most widely taught risk rule in retail trading is the 1% rule: never risk more than 1% of your total account equity on any single trade. Beginners often benefit from starting even lower, at 0.5% per trade, while they work through the inevitable mistakes of the learning phase. Experienced traders with a proven track record may stretch to 2%, but that is the professional ceiling, not the starting point.
Crucially, “risk 1%” does not mean “invest 1% of your account.” It means the distance between your entry price and your stop-loss — the amount you lose if the trade fails — should equal 1% of your account. A $10,000 account risking 1% is willing to lose $100 on a trade. If the stop-loss sits $2 below the entry price, the correct position size is $100 ÷ $2 = 50 shares. The position itself may be worth thousands of dollars; the risk is exactly $100.
The Position Sizing Formula (With a Worked Example)
The universal position sizing formula every swing trader should memorize is:
Position size = (Account size × Risk per trade %) ÷ (Entry price − Stop-loss price)
Walk through it with real numbers. Suppose your account holds $10,000 and you risk 1% per trade. You spot a stock trading at $50 with a clear support level at $47.50, where you will place your stop-loss.
- Risk budget: $10,000 × 1% = $100
- Risk per share: $50.00 − $47.50 = $2.50
- Position size: $100 ÷ $2.50 = 40 shares
- Position value: 40 × $50 = $2,000
If the trade works and the stock rises to your $55 target, you earn $200 — a 2-to-1 return on the $100 risked. If it fails and the stop triggers, you lose exactly $100, or 1% of the account. Notice how the formula automatically adjusts: a wider stop means a smaller position, a tighter stop means a larger one, and the risk in dollars stays constant. This is why sizing by “gut feel” or confidence is so destructive — it breaks the one property that keeps a losing streak survivable.

Adjusting Size for Volatility: ATR-Based Position Sizing
A fixed-dollar stop works fine when markets are calm, but volatility is not constant. A stock that normally moves $2 a day may start moving $6 a day during earnings season or a market-wide selloff. If you keep the same position size while daily ranges triple, your stop-loss will be triggered far more often — you are unknowingly taking triple the risk.
The professional solution is volatility-adjusted position sizing using the Average True Range (ATR), a standard indicator available on every major charting platform. The ATR measures how far a stock typically moves per day. Many swing traders set their stop-loss at 1.5 to 2 times the 14-day ATR below their entry, then plug that stop distance into the standard position sizing formula.
Example: a stock trades at $120 with a 14-day ATR of $4. You set your stop at 1.5 × ATR = $6 below entry, at $114. With a $10,000 account risking 1% ($100), your position is $100 ÷ $6 ≈ 16 shares. If volatility later doubles to an $8 ATR, the same rule gives a $12 stop distance and only 8 shares. Same dollar risk, automatically adapted to conditions. Traders who ignore volatility either get stopped out constantly in choppy markets or carry far more risk than their account can handle in calm ones — both are avoidable with this one adjustment.
Stop-Loss Strategies for Swing Traders
A stop-loss order automatically exits your position at a predetermined price, turning a theoretical risk limit into a real one. In swing trading, stop-losses are non-negotiable: because positions are held overnight, you cannot count on watching the screen when bad news breaks. Automated stops protect you from the worst decision-making moments — exactly when emotions run highest.
- Structure-based stops: Placed just beyond a logical technical level — below a recent swing low for long trades, or above a swing high for shorts. The market invalidates your trade idea at that level, so the stop belongs there.
- ATR-based stops: Set at a multiple of the Average True Range (commonly 1.5–2× ATR), giving the trade room to breathe proportional to the stock’s normal movement.
- Percentage stops: A fixed percentage below entry (for example, 5–8%). Simple, but blind to the stock’s actual structure and volatility.
- Time stops: Exit if the expected move has not materialized within a set number of days, freeing capital from dead trades.
Where to Place Your Stop-Loss
The best stop placement follows three rules. First, it must sit beyond a level that genuinely invalidates your trade thesis — if a long breaks below support, the setup has failed, regardless of how you feel about the stock. Second, it must be wide enough to survive normal daily noise; a stop placed within one average day’s range of your entry is a donation to market randomness. Third, it must be narrow enough that the position size formula still gives you a meaningful position — if the required stop distance makes your position comically small, the setup’s risk-reward is probably poor and the trade should be skipped.
Risk-Reward Ratios: Only Take Trades Worth Taking
The risk-reward ratio compares what you stand to gain against what you risk. If you risk $100 to make $200, that is a 1:2 risk-reward ratio. Swing traders generally demand at least 1:2, and many professionals will not touch anything below 1:3.
The ratio matters because it determines the win rate you need to break even. At a 1:1 ratio you must win more than half your trades (after costs). At 1:2, you can be wrong 60% of the time and still make money: three wins of $200 each ($600) against six losses of $100 each ($600) breaks even before costs, so even a 40% win rate with a 1:2 ratio is comfortably profitable. This arithmetic is liberating for beginners — you do not need to be right most of the time; you need your winners to be meaningfully larger than your losers.
Measure the ratio before entering: the distance from entry to your profit target divided by the distance from entry to your stop-loss. If a stock offers $4 of upside to your target but your stop sits $3 below entry, the ratio is 1:1.33 — below most traders’ minimum, so the disciplined move is to wait for a better entry or pass on the trade entirely.

Managing Overnight and Weekend Gap Risk
Gap risk is the signature hazard of swing trading. A stock can close at $80 on Friday and open at $68 on Monday after bad news — and a stop-loss set at $75 will fill near the $68 open, not at $75. No order type fully protects against this, but swing traders have several defenses.
- Know the calendar: Avoid holding positions through scheduled earnings reports, FDA decisions, or major economic releases unless the trade is specifically designed around the event.
- Reduce size before binary events: If you must hold through an announcement, cut the position size in half to halve the gap exposure.
- Limit correlated overnight exposure: Holding five stocks from the same sector overnight is one bet, not five — a single sector headline can gap all of them against you.
- Consider position-level circuit breakers: Some traders cap the maximum loss on any position (for example, 3% of the account) and will manually exit or hedge if a position approaches it.
Portfolio-Level Risk Rules
Per-trade risk management is only half the battle. A trader who risks 1% on each of twenty simultaneous trades is risking far more than 1% in aggregate, especially if those trades move together. Professional swing traders layer portfolio-level rules on top of position sizing:
- Maximum total exposure: Cap the combined risk of all open positions — for example, no more than 6% of the account at risk across everything you hold.
- Maximum number of positions: Limit yourself to 4–8 concurrent swing trades so you can monitor each one properly.
- Correlation check: Treat highly correlated positions (two semiconductor stocks, or a stock and its sector ETF) as a single position for risk purposes.
- Daily loss limit: Stop trading for the day if losses reach a threshold such as 3% of the account. This “circuit breaker” prevents revenge trading — the emotionally driven spiral that destroys more accounts than any market event.
- Weekly review: Once a week, log every trade, its setup, its outcome, and whether you followed your rules. The journal is where discipline gets measured.
The Psychology Behind Swing Trading Risk Management
Risk rules are easy to write and hard to follow, because every rule exists to constrain you at exactly the moment you least want constraining. After three winners in a row, overconfidence whispers that the 1% rule is for other people. After three losses, fear suggests skipping the next setup — which is often the one that would have recovered the drawdown. Professionals treat their risk plan as a contract signed in advance with their calmer self, precisely because the emotional self cannot be trusted with real-time amendments.
Two practices make the psychology manageable. First, automate everything you can: place the stop-loss and profit target at the moment of entry, so no future decision is required. Second, trade small enough that no single outcome matters emotionally. If a 1% loss ruins your day, your position sizes are correct but your expectations need work — losses are the business expense of trading, and the plan prices them in.
Your Swing Trading Risk Management Checklist
Before you place any swing trade, run through this checklist. If any item fails, do not take the trade.
- The focus: is the setup clear enough to describe in one sentence?
- The invalidation: where does this trade idea fail? That level is your stop.
- The math: position size = (account × risk %) ÷ (entry − stop). Calculated, not guessed.
- The ratio: is the risk-reward at least 1:2 to your target?
- The calendar: any earnings, economic data, or events while you plan to hold?
- The portfolio: does this trade push total account risk above your cap?
- The orders: stop-loss and target placed immediately at entry — no mental stops.
- The exit: what conditions would make you leave early, and what would make you stay?
Frequently Asked Questions
How much money do I need to start swing trading?
What matters more than account size is whether it supports proper position sizing. A small account can follow the 1% rule perfectly well, though very small accounts may find commissions eating into tiny positions. Many educators suggest starting with an amount you can afford to lose entirely while you learn — often $2,000 to $5,000 — and focusing on process, not profits.
Is the 1% rule too conservative?
For beginners, no. The 1% rule exists to keep you in the game through the learning phase, when mistakes are guaranteed. As your win rate, discipline, and track record improve over hundreds of documented trades, some traders graduate to 1.5–2%. Raising risk before the results justify it is one of the fastest ways to fail.
Can position sizing make a bad strategy profitable?
No. Position sizing controls the variance and drawdown of a strategy; it cannot create an edge that does not exist. A negative-expectancy strategy loses money regardless of sizing — smaller positions just lose more slowly. Get the strategy edge first, then let sizing protect and compound it.
Should I use mental stop-losses instead of real orders?
Almost never. Mental stops rely on you executing under emotional pressure at the exact moment discipline is hardest. Automated stop-loss orders execute regardless of how you feel, which is precisely the point.
Conclusion
Swing trading rewards patience, preparation, and above all, respect for risk. The 1% rule, the position sizing formula, volatility-adjusted stops, minimum risk-reward ratios, and portfolio-level circuit breakers form a complete defensive system — one that lets a trader be wrong half the time and still grow an account. Markets will always deliver surprises, losing streaks, and overnight gaps; swing trading risk management and position sizing is how you ensure none of them end your career. Master the defense first, and the offense takes care of itself.